How To Verify Your Fanvue
A quick tutorial on how to verify your account on Fanvue, and avoid common mistakes during the process.


Getting verified on Fanvue can feel confusing if you’ve never done it before. Since skeptics often ask are Fanvue models real, navigating the ID checks, photo uploads, and waiting for approval is vital, yet it’s easy to get stuck or delayed.
That’s exactly why I wrote this guide: to make the process simple, fast, and mistake-free so you can start earning and access Fanvue payout methods quickly.
In this post, you’ll learn how to get verified on Fanvue step-by-step, what documents you actually need, and a few insider tips to help your account get approved on the first try so you can begin Fanvue like for like growth campaigns immediately.
Why You Must Verify
- No verification = you cannot post, charge money, or get paid.
After verification = you can upload photos, videos, set prices, and start earning the same day.
- Fanvue keeps your ID private and deletes it after approval.
What You Need (Get Ready First)
- Valid government ID (best = passport, also OK = driver’s license or national ID card) → Must be current (not expired) → Must have your photo
- Phone with good camera (do NOT use webcam – it makes blurry photos)
- Good light (stand near a window, no strong sun, no dark room)
- Your real full name, date of birth, and address (must match the ID exactly)
Easy Step-by-Step (Takes 10–15 Minutes)
Put your real info:
- Country (pick from list – cannot change later. Note: Russia, Kazakhstan, Belarus blocked – try OnlyFans instead).
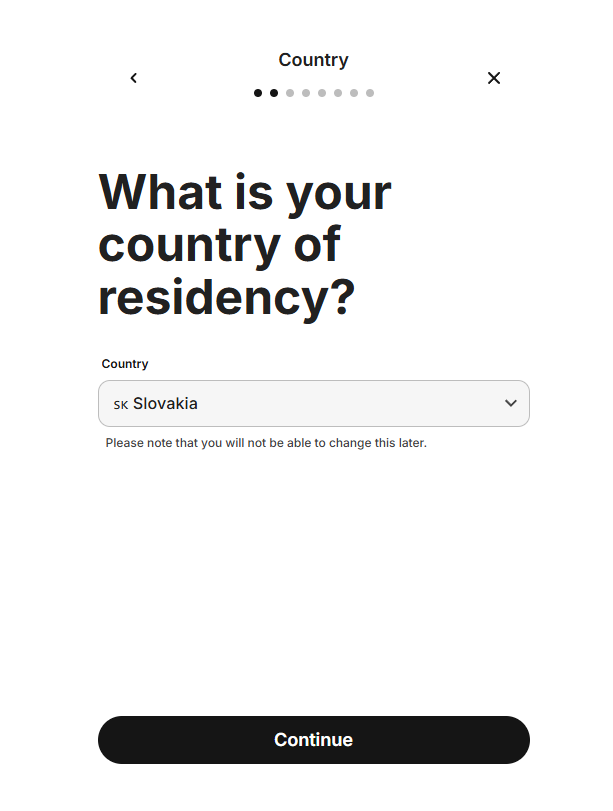
- Full legal name (copy exactly from ID, like "Anna Maria Smith Jr.").
- Birthday (month/day/year, like 05/15/1995).
- Address (street, city, zip code – use real one from ID. PO box OK if on ID). → MUST be 100% same as ID – even small spell error = rejection. Write it twice to check.
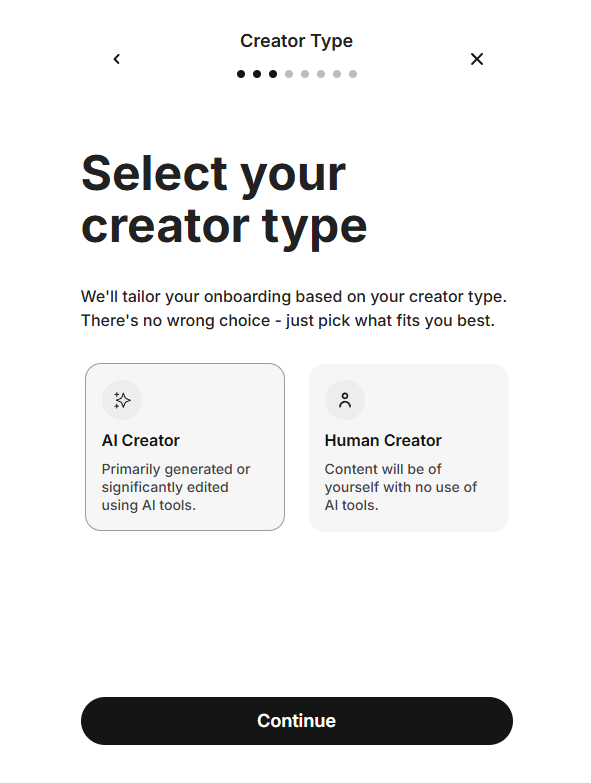
- Content type: If AI/virtual model, pick "AI-generated" here. Helps Fanvue scan your posts later.
- Tick box “I am over 18”: Yes, you must. Lie = permanent ban.
- Click "Save" at bottom.
- Why this step? Fanvue matches your profile to ID. Wrong info = looks fake.
Time: 5 minutes. Pro tip: Add a banner photo now too (wide image for top of page) – make your profile look pro.
Fill Profile
Now fill everything carefully. Save at the end.
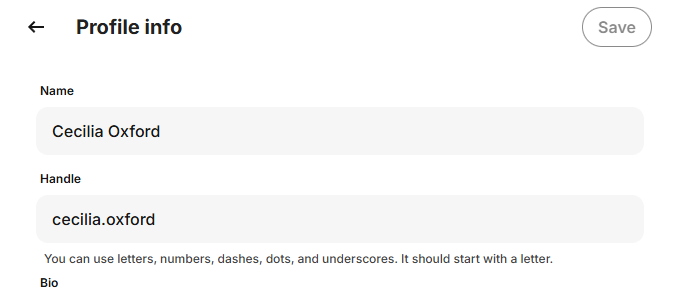
- Username: Pick something easy to remember and search. Example: @AnnaSweet2025 or @YourNameHot. Must be unique: Fanvue checks. No spaces or special signs except @.
- Display name: Your stage name or real first name. Example: "Anna" or "Sweet Anna." Keep it short and fun.
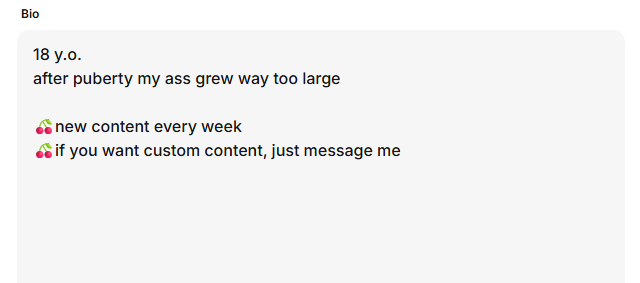
- Write short bio: 1–2 sentences about you. Example: “Daily exclusive photos & videos 🔥 Come chat with me!” Do NOT say things like "meet in person" or "pay outside app", this can flag your account. For additional info, visit the Fanvue Tips blog.
- Add profile picture: Upload a clear photo of your face or body. Clothed is fine (save sexy for posts). Smile, good light, no blur. Size: Square shape works best.

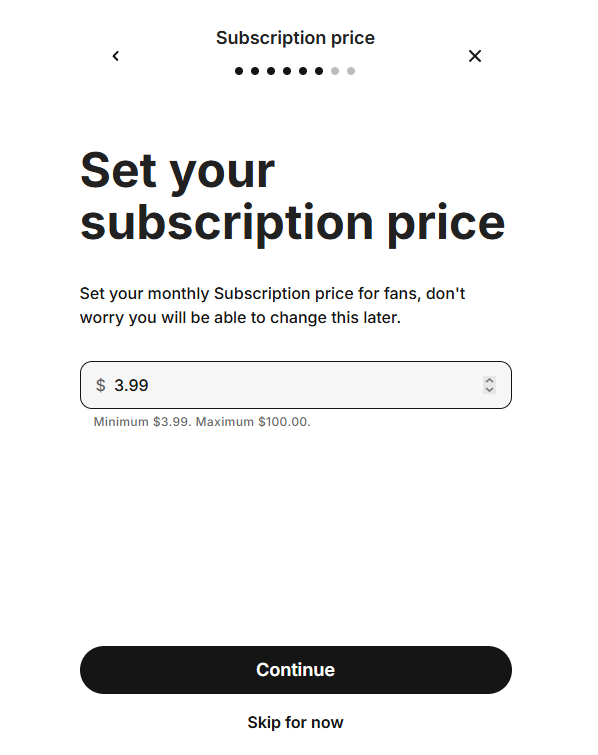
- Set your price Keep it at $9.99, or for best results use $3.99. Why? learn more in the Fanvue Tips blog post.
Start Verification
- After saving profile, you see a big red button: "Verify Identity" or "Start Verification." Click it.
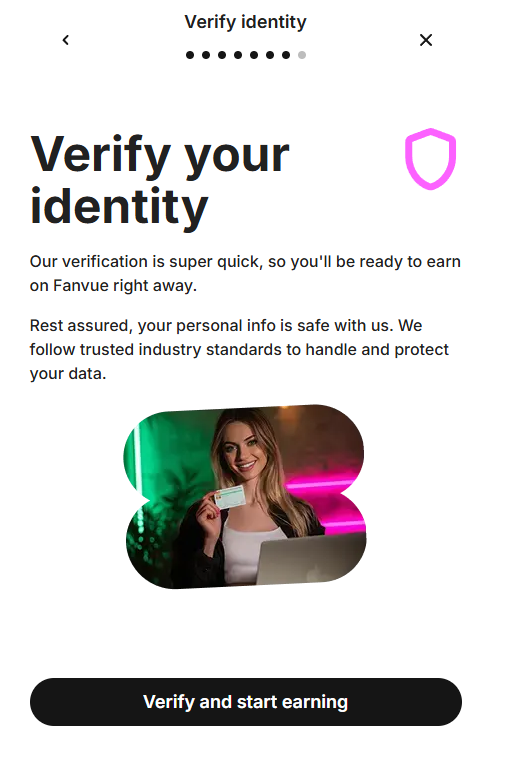
- Fanvue sends you to a safe partner page (like a bank login – secure, no ads). Screen says "Verify Your Identity."
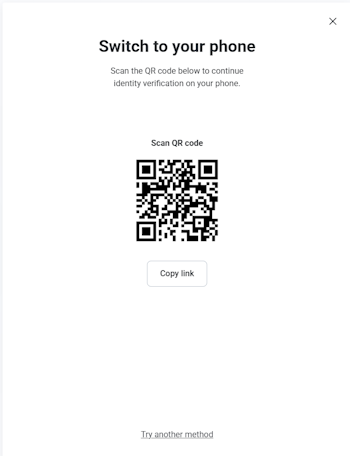
- If on computer: Scan the QR code with your phone camera to open on app. Easier for photos.
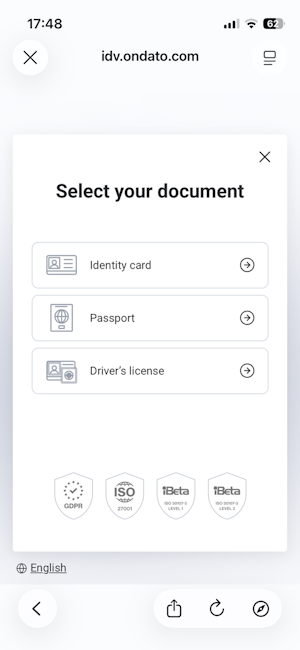
- Pick your ID type from dropdown: "Passport," "Driver's License," or "ID Card."
- Allow camera access (pop-up asks – say yes).
- Why this step? Starts the ID check. Do not close page mid-way.
- Time: 1 minute.
if you want to learn more then check out my blog post about how to verify your fanvue.

Join 500+ creators in AI Model Factory – your no-BS Skool playbook for faceless riches.
What's Inside (Proven System):
- IG Growth Hacks: Viral reels with 550k+ views, DM funnels, ban-proof posting.
- AI Images/Videos Mastery: Create stunning influencers in hours using free tools (no Photoshop needed).
- ComfyUI Guide: Step-by-step setup + prompts for consistent, hyper-real models (beginner-friendly).
- Fanvue Guide: Launch, verify AI accounts, PPV pricing, chatting masterclass.
Real students hit $5k week 1
Learn More →
Take Photo of ID
- Screen shows a box for your ID. Put your ID flat on a dark table (no white paper – makes glare) or hold steady in hand.
- Front photo first:
- Put whole ID in the box (all 4 corners must show – no zoom in or out).
- No fingers over any text or photo.
- Hold still 2–3 seconds – camera auto-takes. If blur, tap "Retake."
Back photo next (if your ID has info on back, like driver's license): Same rules – full view, clear text. If blank, skip.
- Tips for perfect photos:
- Light: Near window, no lamp shine on ID. Text must be black and sharp – like a printed book.
- No glare: If shiny ID, cover with clear plastic or take at angle.
- File: Auto-saves as JPG. Under 7MB OK. No edits or filters.
- Common wrong: Too close (crop edges) or too far (tiny text). Test: Can you read every word?
- Upload happens auto.
- Why this step? Proves your ID is real. Bad photo = 80% of rejections.
- Time: 2–3 minutes.
Take Selfie
- Screen changes to camera for your face. Put your face in the oval box. This crucial step is the start of your journey to confirm that is AI OFM profitable.
- Look straight at camera: Eyes open, head straight (no tilt). Smile OK, but natural is best.
- Normal face: No sunglasses, no hat, no heavy makeup or filters. Hair down is fine.
- Good light on your whole face: Window light from front – no shadows under eyes or chin. Face bright like daytime photo.
- Camera auto-takes when ready. If bad, tap "Retake" (try 2–3 times).
- Sometimes extra: Screen says "Hold ID next to face." Put ID photo side by your cheek – both full in frame. No cover, clear match.
- For AI creators: Use a photo of your consistent avatar (no real face needed). Successful verification is the gateway to getting more Fanvue fans.
- Tips: Stand still, eye level to phone. Plain wall behind (no people or mess). If dark, move to window.
- Why this step? Matches your face to ID photo. Fake light/edit = rejection. If you fail verification due to edits or non-compliance, you may quickly know if you are banned on Fanvue or flagged.
- Time: 2 minutes.
Submit
- Screen shows your photos and info. Check everything: Name match? Photos clear? No typos?
- If OK, press big "Submit" button.
- You see "Thank you, we are checking" message. Get email copy too (check spam).
- Do NOT post content or promote yet – wait for green "Approved" email.
- Track: Go to Settings > Verification in app.
- Why this step? Sends to Fanvue team (auto + human check). Clean submit = fast yes.
- Time: 1 minute.
How Long It Takes
- Normal time: 24–72 hours
- Many people get approved in 12–24 hours if photos are perfect
- Weekends a little slower
Most Common Mistakes (Fix Them = Instant Approval)
| Mistake | Why it fails | Easy fix |
|---|---|---|
| Blurry or dark photo | Team cannot read ID | Use phone + window light, clean camera |
| Name not exactly the same | Looks like fake | Copy name from ID letter by letter |
| Expired ID | Not valid | Use passport (almost never expires soon) |
| Only front photo | Missing information | Always take back too |
| Too much makeup or filter | Face does not match ID | Natural face for selfie |
| Using VPN or wrong country | Looks suspicious | Turn VPN off, use real country |
Special Notes
- AI / Virtual creators → same steps. Just choose “AI content” when asked.
- Russia, Kazakhstan, Belarus → currently blocked. Use another platform.
- Rejected? They send email with reason. Fix the problem and send again the same day.
What to Do Right After Approval
- For an excellent profile, master these essential Fanvue tips
- Add bank account (Settings → Payouts) so you never have to wonder "is Fanvue legit" when payday arrives
- Upload 100+ photos and 15+ videos you generated to create AI model for Fanvue so the page looks full
- Set subscription price ($4.99–$9.99 is the best start compared to expensive Fanvue alternatives)
- Add banner, intro video, welcome message (see my other guide)
- Start promoting to get Fanvue likes and build social proof!
Wrapping Up and My Experience With Verification on Fanvue
Bang! Off you go to verify your account and start making some money! You will quickly see that is AI OnlyFans legit as a serious business model.
Me? Verification made my page feel official. Like I wasn't just creating content, I was building something real. Once you're verified, everything else becomes easier: collaborations, visibility, and confidence in your actions.
If you haven't done it yet, take the few minutes to verify your account: it's a small step that changes everything after. If you need a full roadmap for the next steps, a dedicated AI OnlyFans course can help you scale faster.